Kinect officially supports Windows Store! So, if you decide to bring your Kinect apps & games to the Windows Store and reach more customers, be my guest.
Uploading traditional Windows Store apps, made with Visual Studio and XAML, is quite trivial. However, exporting a Kinect for Unity project as a Windows Store package is a little more complicated. In today’s tutorial, I’ll show you how to do it.
Prerequisites
Process
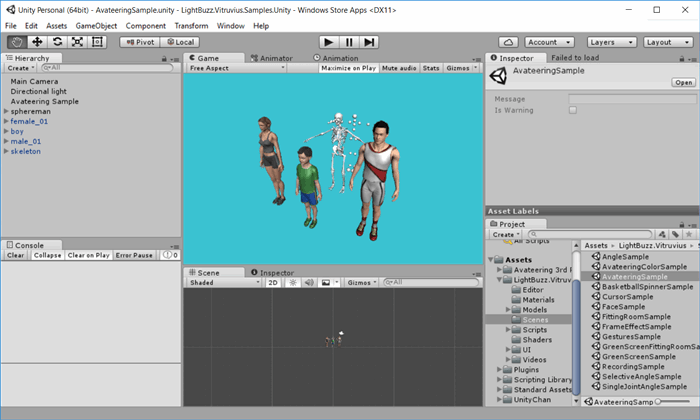
So, let’s see how we can export our Unity project as a Windows Store app. The screenshots below are found in the built-in demos of Vitruvius.
Step 0 – Create and Test Your Kinect Project
Create your Unity Kinect project as you’d normally do. Include the required references and test your game using the Unity Editor.
Step 1 – Set Unity Build Settings
Then, navigate to File → Build Settings and add the scenes you want to include in the Windows Store project. Select Windows Store as your Platform. Select 8.1 as the target SDK. Then, click Build. Do not click “Build And Run”.
Attention: You cannot export for Windows Universal Apps (UWP) yet. Your Windows Store app would run in Windows 8.1 and Windows 10 with no problems, though.

Step 2 – Export for Windows Store 8.1
Unity will then ask you to create or select a folder. This folder would include the Visual Studio Solution (.sln) files and binaries. Click Select Folder and wait. Unity will compile your project using the corresponding Windows Store APIs. Kinect SDK is fully compatible with Windows Store. However, your whole project and dependencies should be compatible with the Windows Store APIs. Avoid using iOS-specific, Android-specific, or Desktop-specific dependencies.
Step 3 – Set Visual Studio Build Settings
After the process is completed, Unity will generate a Solution (.sln) file. Double-click to open it using Visual Studio.
Kinect is not compatible with ARM processors, so you’ll need to select x86 as your target processor. For better performance, you should also select Release instead of Debug.
Step 4 – Add the Required References
And now the tricky part! Even though we have already included the Windows.Kinect namespace into our Unity project, one additional step is required. Visual Studio needs to map the Unity-specific classes and methods to the WinRT-specific ones. So, right-click the References option and select Add Reference.
Navigate to Windows 8.1 → Extensions and select WindowsPreview.Kinect (required) and Microsoft.Kinect.Face (optional). Click OK and wait for a few seconds.
Step 5 – Run!
This is it! Hit the green Run button to launch your Kinect Windows Store app! Feel free to upload it to the Windows Store.
Kinetisense and XRsense are two Kinect Windows Store apps that use Unity. Give them a try!
The post Export your Unity Kinect project for Windows Store appeared first on Vangos Pterneas.


