Introduction
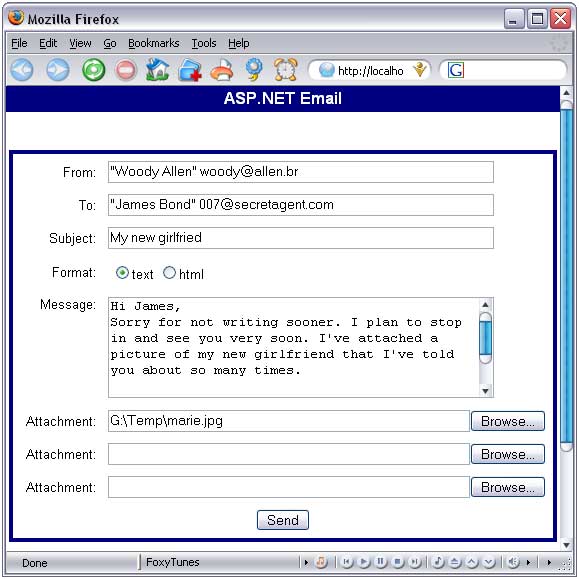
This application demonstrates the use of some simple but useful things you can do with ASP.NET; uploading, saving and deleting files, and sending email.
Background
There are three things we need to do to be able to run this code and I'm going to assume that you will be trying out this code at home on a Windows desktop computer.
First, you need to create a virtual directory in IIS to host this web application and set write permission because we will be saving and deleting files that will be email attachments. In the virtual directory, create a folder called "attachments". This is where we will temporarily store the uploaded files to attach to the email.
The second thing to do is to make sure that the SMTP server is running and that it can relay mail. From the IIS MMC window, with "local computer" selected on the left, you should see the "Default SMTP Virtual Server", if not you need to install it. Right-click it, go into "Properties", the "Access" tab, and click the "Relay" button. With the "only the list below" radio button selected, you should see the local IP address: 127.0.0.1, if it's not there, you need to add it.
The last thing is to set up the SMTP server in the application. In the code, look for this line (line # 149):
SmtpMail.SmtpServer = "localhost";
You need to replace "localhost" with the name or IP address of your SMTP mail server. On a Windows desktop computer, "localhost" is the default value and usually works.
Using the code
First of all, we create a new MailMessage object and we call it "email". Then we set the From, To, Subject and Body properties as well as the BodyFormatof of this object to the values on our web form.
MailMessage email = new MailMessage ();
if (rblMailFormat.SelectedItem.Text == "text")
email.BodyFormat = MailFormat.Text;
else
email.BodyFormat = MailFormat.Html;
email.From = txtSender.Text;
email.To = txtReceiver.Text;
email.Subject = txtSubject.Text;
email.Body = txtBody.Text;
Now for the meat and potatoes of this little web application; the following block of code checks the first of three Open File Dialogs of our web form (the Open File Dialog is an HTML File Field control to which we've added the runat="server" property). If there is a value, the file is uploaded, saved on the server, and added as an attachment to the email. The processing of the two other Open File Dialogs are just the same.
if (ofdAttachment1.PostedFile != null)
{
HttpPostedFile ulFile = ofdAttachment1.PostedFile;
int nFileLen = ulFile.ContentLength;
if( nFileLen > 0 )
{
strFileName = Path.GetFileName(ofdAttachment1.PostedFile.FileName);
strFileName = "attachments/" + strFileName;
ofdAttachment1.PostedFile.SaveAs(Server.MapPath(strFileName));
MailAttachment attach = new MailAttachment(Server.MapPath(strFileName));
email.Attachments.Add(attach);
attach1 = strFileName;
}
}
Then we send the email and finish by deleting the attachments.
SmtpMail.SmtpServer = "localhost";
SmtpMail.Send (email);
if (attach1 != null)
File.Delete(Server.MapPath(attach1));
Points of Interest
This little project shows a practical use of the System.Web.HttpPostedFile and the System.Web.Mail.SmtpMail objects. The HttpPostedFile object is probably the simplest way to let a web user upload a file. I also tried to create the file attachment using a FileStream, hoping that I would be able to create the attachment without having to first save the file. I haven't figured that one out yet.
History
I've made a minor update to this article and the code, but it's basically the same application. Someone pointed out that I hadn't included the line that adds "attachments/" to the beginning of the filename for the second and third attachments. That's the only thing that has changed in the code. I've also made a few small changes to my explanations and comments.
I have been working with different web technologies (ASP, ASP.NET, ColdFusion, Perl/CGI) for the past 15 years. I live in Montreal, where I work for a little consultant group specializing in Microsoft technologies.


 General
  News
News  Suggestion
  Question
  Bug
Bug  Answer
  Joke
Joke  Praise
  Rant
Rant  Admin
Admin 


