We recently reported on a new service offered through Microsoft Stores: for $99, technicians will reinstall a clean copy of Windows on any new PC, wiping out all of the bloatware that shipped with the computer and installing a few basic productivity applications in their stead.
We ended up with nearly as many comments on that story as it had words. The discussions included whether $99 was a fair price for the service, alternatives to completely wiping out and reinstalling the operating system, and the reasons why PCs come with so much pre-installed software in the first place. Whichever side of these various arguments you came down on, the general consensus was that bloatware brings down the price of PCs—but is otherwise supremely terrible and should be nuked from orbit.
This guide aims to address all of these points in one big, sweeping go, both for home users and for smaller businesses without dedicated IT staff. People who have never tried this before will learn enough to be able to download Windows installation media, hunt down drivers, and reinstall their own operating system. Technical users who have done all of this before can pick up some information about how Windows installation media and the Windows activation process have changed since the Windows XP days. And everyone should come away with an idea of what goes into installing Windows from scratch on a new PC, and just what that $99 will pay for.
Before you start
For the purposes of our guide, we will begin with a new PC that has just been taken out of the box and hooked up for the first time. Before we get started, you're going to want to download a few things, so don't reformat that hard drive just yet—turn on the PC and walk through Windows' first-time setup process. All you need to do is get to the desktop, connect to the Internet, and fire up a Web browser. This guide isn't going to walk you through preserving any personal data on the PC you're reloading, so it would be best to not yet do anything on this computer you'll want to keep.
Getting Windows install media
After you've booted the PC to its bloatware-infested desktop and clicked through the various EULAs and pop-up boxes for software you'll never use, the first thing you're going to want to do is get a copy of the vanilla Windows install media—most new computers these days don't come with that sort of thing, and the restore functionality they do include is just going to restore all of the bloatware, too.
It used to be that getting Windows install media without actually buying a retail copy of Windows required you to visit less-than-legitimate sites and hope that whatever you downloaded wasn’t infested with viruses. No longer: you can now download your Windows media from Digital River, the company Microsoft uses to supply ISOs to people who buy Windows online. These downloads are identical to the “full install” versions of the Windows install media.
| Windows 7 Install Media Download Links | ||
|---|---|---|
| Windows 7 Home Premium with SP1 | 32-bit | 64-bit |
| Windows 7 Professional with SP1 | 32-bit | 64-bit |
| Windows 7 Ultimate with SP1 | 32-bit | 64-bit |
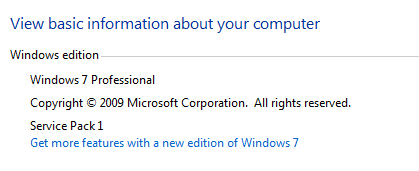
You'll want to download the media for the same edition of Windows that came with the computer, so check the Windows sticker on the bottom or side of the computer or the System control panel to see what you've got. Most new consumer PCs will come with Windows 7 Home Premium, but Professional and Ultimate sometimes show up on mid- and high-end machines.
This should go without saying, but note that these downloads do not include a license or a product key to install Windows—you'll still need a valid "full install" or OEM license and product key to legally install Windows on anything. They are, however, a convenient way to get new install media if (1) your computer didn't come with generic Windows install media, as is almost always the case these days, (2) your original Windows media has become lost or damaged, or (3) you want to replace your old Windows install disc with one that has the latest Service Pack integrated already, especially useful since Microsoft has made the service pack slipstreaming process much more difficult since the XP days.
Once you’ve downloaded the ISO for your Windows edition and bit-ness, you can either burn it to a DVD using Windows 7's built-in DVD burning tool or copy it to a USB drive using Microsoft’s Windows 7 USB/DVD download tool—our guide will help you through it step-by-step.
At this point, we run into one of the most common misconceptions about reinstalling a clean copy of Windows on a new computer: that install media bought in a store (or, in our case, downloaded from Digital River's servers) won't work with the OEM license key printed on the computer.
This was, in fact, true back in the days of Windows XP, and that operating system's longevity and popularity is why this belief persists—Microsoft's OEM partners are given special Windows media and license keys that are used to install Windows en masse on new PCs. This Windows media checks for a special string in a computer's BIOS to verify that the computer was from one of Microsoft's OEM partners, and would not require additional action to activate if that string was found. This whole process is called System Locked Pre-installation (SLP), and it's still in use today—for example, the Dell-branded Windows install media included with my Dell Latitude does not require activation after installation because it knows to check the BIOS for the requisite text string.
The difference is that the OEM versions of Windows XP install media would not accept a product key for an off-the-shelf copy of Windows even if that key was valid and vice-versa. Volume license customers had yet another variant of install media for use with their product keys (one of the reasons this whole mess existed was to prevent people from using leaked volume license keys for Windows XP Pro to activate commercially available install media). Getting around this limitation was possible if you were willing to copy your install media to your hard drive, fiddle with some of the files, and re-burn it, but this was a hit-or-miss procedure that didn't work consistently and was well out of most users' comfort zone.
Due in part to changes in Windows volume licensing, this is no longer the case. Retail Windows 7 DVDs will happily accept OEM license keys as long as you're using "full install" media rather than "upgrade" media. You may have to use Microsoft's phone-based activation process rather than the more convenient Internet activation, but there are no other technical roadblocks and there's nothing in Microsoft's EULA that prevents it as long as you're using the same edition of Windows and you're not using your OEM key to install Windows on multiple systems (Microsoft didn't respond to requests for clarification on the issue). You can even switch between 32-bit and 64-bit Windows if you'd like.
I’ve also been asked whether wiping out the installed copy of Windows will have any impact on the computer’s hardware warranty—the short answer is no. The warranty terms for all the major PC vendors (I checked HP, Dell, Lenovo, Acer, ASUS, and Toshiba specifically, and a Lenovo representative confirmed for me) separate hardware and software pretty clearly, meaning that wiping out the factory-installed copy of Windows with a fresh copy (or even another OS) will invalidate any sort of software support provided by that computer’s manufacturer, but if the hardware fails within the warranty period they’re still obligated to fix the problem.
Downloading drivers and software
The next thing to do, and one of the most important, is download the drivers for your hardware. Doing this before installing our fresh copy of Windows on the computer isn’t necessary, but if you have the computer’s fully populated Device Manager window to guide you, it makes it much easier to identify and download the drivers you need.
For a broad overview of the Windows installation and driver hunting processes, this part of last year’s “How to build your own computer” feature is a great place to start. Since you’ll be installing Windows right off of the DVD with no extra drivers or customizations, the process will be identical to installing the OS on a computer you built yourself.
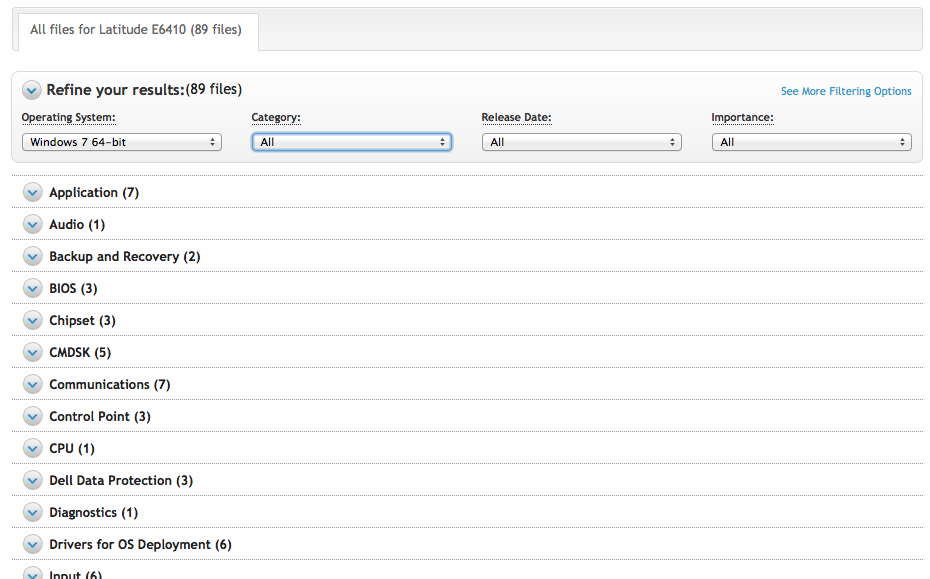
The good news is that OEM support pages are typically a bit easier to navigate than your average motherboard manufacturer’s, and it’s a bit simpler to remember and search for something like “Dell Latitude E6410” than “GA-H61N-USB3.” Dell, HP, Lenovo, Acer, Toshiba, ASUS, and others all have pretty good support pages into which you can type your computer’s model name or serial number and operating system and get back all of the drivers you need for a new Windows install.
The three most important types of drivers you’ll need to get a clean Windows install off the ground are graphics (or video), networking (both wired and wireless), and sound (or audio), so make sure you grab those first. If there are multiple drivers available under each entry, you can check the Device Manager to see what kind of hardware you’re using, or you can just download all available drivers to make sure your bases are covered.
The other drivers you need will depend on the equipment installed in your computer, and this often varies from manufacturer to manufacturer—Lenovo laptops use a custom power management driver that you’ll need to look out for, and HP laptops often need a driver for their Quick Launch buttons to function properly. Fingerprint readers, USB 3.0 ports, Bluetooth, chipset, hard drive free-fall sensors, and SATA drivers are other common components (though specialized USB 3.0 and Bluetooth drivers should be rendered mostly unnecessary by Windows 8), and trackpad drivers (while sometimes not strictly necessary) can make trackpads more reliable and enable advanced functions. This is especially true of the multitouch trackpads shipping with most Ultrabooks.
Once your drivers are downloaded, copy them to a USB key for later. While you’ve got a functioning system, you may also want to grab a few other programs for installation once your fresh copy of Windows is up and running. Different workloads will require different software, of course, but this should get most general-use users off the ground:
- Microsoft Security Essentials for antivirus
- An alternate Web browser like Chrome or Firefox
- A PDF reader like Adobe Reader or Foxit Reader
- An office suite like Microsoft Office or LibreOffice
- The Windows Live Essentials add-ons, which include an email client and basic photo and video editors
reader comments
162