Introduction
I would like to present a simple library that helps a lot with relative design of application. This is a lightweight and quick to implement class, that does resizing and repositioning for you. The code is a result of experience with Flash Platform development in ActionScript 3.
Background
We all know such basic WinForm params like Top, Left, Right, Bottom, but this is definitely not enough and when size is changed, each component must be replaced by additional code lines.
Anyone who also uses Flex/FlashBuilder will see similarities between Flex design positioning and Relative Design class, but during development, I add more options to fill missing features.
Using the Code
1. Manage Controls
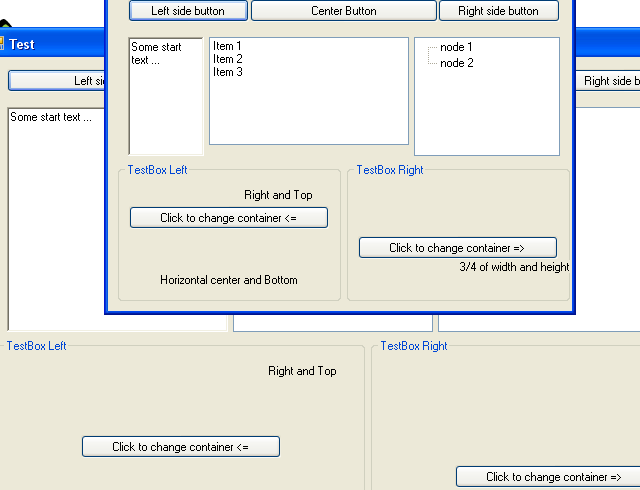
To add/remove and invoke resizing, use main class RelativeLayout.
Button myButton = new Button();
Position position = RelativeLayout.Add(myButton);
RelativeLayout.Remove(myButton);
RelativeLayout.Remove(position);
2. Invalidate Container
Each child registers parent to RelativeLayout index and when control is resized, on each child Resize function is called:
Button myButton = new Button();
Control myContainer = this;
myContainer.Controls.Add(myButton);
RelativeLayout.ReplaceContainer(myContainer);
Note: When target control changes parent, it will be resized automatically.
3. Setting Position Values
This will be the biggest part that needs to be described. First - all possible values and descriptions:
All values are split in vertical and horizontal (works the same but at different name and direction):
Vertical
Top; top border Vertical; center Bottom; bottom border RelativeVertical (value between 0 and 1 , 0-100% )
Horizontal
Left; left border Horizontal; center Right; right border RelativeHorizontal (value between 0 and 1, 0-100% )
Size
Width Height
(0 and more to set absolute values , between -1 and 0 set relative to parent value )

All values are Floats , because we will need specific value like NaN or fractions to relative to size values. If any value is NaN, that means it is not used in repositioning.
Note: RelativeHorizontal/RelativeVertical is overriding Horizontal/Vertical values.
Setting is simple, what we set, this is going to be used, so let's look at some examples below:
Position pos1 = RelativeDesigne.Add(myControl);
pos1.Right = 0;
pos1.Width = -0.1f;
pos1.Top = 0;
Position pos2 = RelativeDesigne.Add(myControl);
pos2.Horizontal = 0;
pos2.Vertical = 0;
pos2.Width = 20;
Position pos3 = RelativeDesigne.Add(myControl);
pos3.Right = 10;
pos3.Vertical = 0;
pos3.Bottom = 0;
pos3.Width = -0.25f;
Position pos4 = RelativeDesigne.Add(myControl);
pos4.RelativeHorizontal = 0.2f;
pos4.Vertical = 20;
Now a Little Theory
Left is setting space from left border, but when you set left and right values, target control will start on left offset and end on right offset. Same with setting center value and border, component will be placed between offsets.
Center values have two options relative or absolute. When using relative (like RelativeHorizontal), do not forget about specifying the correct float, between 0-1. Absolute value provides offset, positive to right or bottom of center, negative values move element to top and left. When using center values , component align is moved to center.
Summary
In simple words, to use the library, add component to list, get its Position object, set position and size values. That's all!
Points of Interest
That is a cool small item I would like to share. It will be nice to have any feedback about issues, requested features or such things. Feel free to email me.
This member has not yet provided a Biography. Assume it's interesting and varied, and probably something to do with programming.


 General
  News
News  Suggestion
  Question
  Bug
Bug  Answer
  Joke
Joke  Praise
  Rant
Rant  Admin
Admin 


