Introduction
In this article we'll built a customized page template instead of using the built-in Web Form Template.
Background
When developing any web application we most of the times use the built-in Web Form that's with the Visual Studio. But What if we want to have a Web Form that we will design as we want and keep it as a template for reuse. So lets do something like that by following the steps below.
Steps
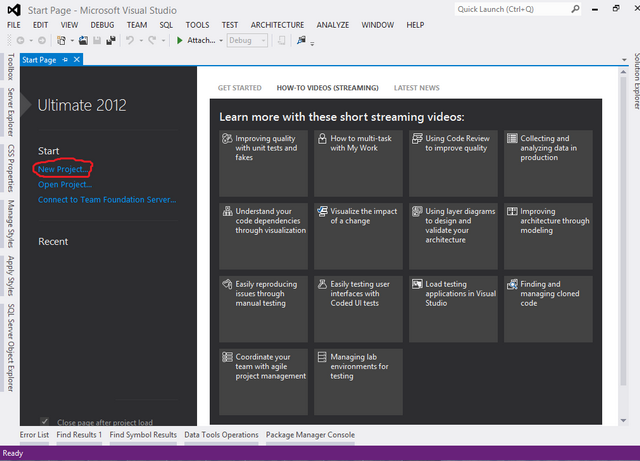
- First of all Open VS2012, click on New Project on start page or go to
File ->New -> Project.
- From the left bar Templates select Visual C# -> Web and then in right side select ASP.NET Empty Web
Application. Let’s name our application MyWebApplication and set
the location of it. Then Press OK.

- From Solution Explorer right click on the project template and select
New Item.
- Click on
Web Form and name it MyWebForm.aspx and click
Add.
- In the
Markup View set the
<title> attribute as follows
<title>My Web Form</title>,
add <h1>Hello
everyone, this is my web form</h1> inside the
<div></div> that’s within the
<form></form>.So now what if you want this MyWebForm.aspx to be the default Web Form that you can use when you want to add a new one. Save all your changes.
- Go to File -> Export Template, select Item template option from the radio buttons and from the DropDownList select the project from which you would like to create the template. In our case it’s MyWebApplication. Click
Next.
- Select the item that you want to export as item template. In our case its
MyWebForm.aspx . Click Next.
- From the
select item reference dialogue select nothing. Click
Next.
- From Select Template Option dialogue give Template Name as
MyDefaultWebForm and a description about that template. And
check both the checkboxes below. Click Finish.
- Check if the folder exists here :
C:\Users\helloBug\Documents\Visual Studio 2012\Templates\ItemTemplates
Change helloBug with your User name.
- Now right click on the Project Template Add New Item and see your template has been added in Visual C#. You’ll also find the description on the right side.
- Click on MyDefaultWebForm1 template on right side name it as you like. I’ll take the default one. And click Add.
- It might show you a warning. You might read it. To Continue Click
Trust.
So this is it. Now you have your own page template to use.
Note: you may have to restart VS and reopen your website for the template to appear.
Hope you learned something. Thank you.
This article was originally posted at
http://www.babycoders.com?p=67
This member has not yet provided a Biography. Assume it's interesting and varied, and probably something to do with programming.


