Introduction
After reading Josh Smith's skinning article I decided to try it out on one of my real-world applications. I had an application that I re-deployed to more than one client and needed the application to suit my client's colour schemes. After a few trial and error sessions I decided to share my gotchas I ran into...
Resources and Styles Overview
WPF skinning relies very heavily on Resource and Style, so I will give you a quick overview of what Resources and Styles are.
Resources
Resources basically allow us to define "static value" or "const value" in XAML. A resource dictionary is a key-value pair list. It is more commonly used to store various styles target at specific elements or element types.
One very important thing to remember about resources is that they are only available in the element that they are defined and within its children. The FindResource basically recursively searches through the element tree. If no resource is found, it finally searches through the applications resources. This forms the fundamental basis of the WPF skinning.
Styles
Styles provide an easy way to change multiple properties of controls. Styles are essentially a collection of property values that are applied to elements. Charles Petzold also describes styles as a partial compensation for not being able to use loops in XAML to create multiple elements with identical properties.
The Gotchas
The first gotcha I ran into stems from the use of Dependency properties. Read the following article about Dependency properties and pay special attention to the explanation of how the order of precedence works because you actually only see the effect once you start playing round with skinning...
Under the hood: Dependency Properties
Suppose you have an already created application with a button, then this button might be placed somewhere in a container (i.e. Grid). The position of this button can be determined by various methods but the most commonly used, is the Margin property. This property specifies the distance from the borders. This is all great, but what if I now want to skin this application? You need to remove all the locally set properties from all the controls you want to skin. If you just asked why, then you will have to read the dependency properties article again...
Let me explain: Styles have a lower order of precedence than locally values. If you don't remove the locally supplied values then your style will have no effect!!!
Well that is simple; I will just remove all the local values from the controls that I want to transform using styles... This might complicate your application just a little! If you never want to move your controls and all your buttons are always at the same position then this is not an issue though...
Another point to keep in mind if you dynamically need to change the position of your controls (i.e. Button): You will need to create a base style for all your buttons (The look & feel of all the buttons) and then create multiple styles based on the base style and then only change the position depending on the use. As an example, imagine you have a Cancel and OK button. For each skin these buttons gets positioned at different positions. You will now have to create a base button style with the common look and feel for each skin and then also a separate style just for the OK button and the same for the Cancel button. Again, this might get much more complicated if you have more buttons!
The next problem I ran into is a little less technical. My first skin requires my main Window to have a logo image and a button, no problem. My second skin is a little more complicated. This skin requires a header, footer and a decoration image. To now design a form that can be transformed like this using styles get a lot more complicated. I now have to accommodate 3 images of which 1 could be used as a header or a logo image and the other 2 are footer and a decoration images. If the skin doesn't need a decoration image, then it would just be ignored...

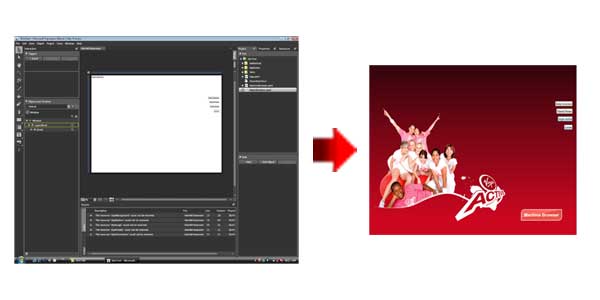
Skin 1
Skin 2
The last thing I struggled with a little was animations. Each skin had a few animations that I wanted to trigger. I used to trigger these animations on Window loaded event but obviously this couldn't be used anymore. I now had to start these animations manually! I now had to use FindResource to look for my common animations (i.e. ProgramStartAnimation) and then cast it to a Storyboard. You must also now verify that the resource found is valid, because not all skins will have all the animations and then fire them.
Storyboard animation = (Storyboard)app.FindResource("ProgramStartAnimation");
if (animation)
    animation.Begin(this);
Conclusion
I actually only saw the real power of WPF skinning when I started converting my second Window. On this Window I had a list box and a Done button. WPF skinning allowed me to very easily convert my 1st skin to create a large icon wrapped list box and for my second skin, I used a more conventional list box and only changed the highlighting colours. It was great to see how easily I could change these types of control behavior.
Even considering these gotchas I still feel that the WPF skinning is very useful. It should be sufficient for about 70% of all your skinning requirements. Thank you to Josh Smith for writing an excellent introductory article. Read it again and start skinning some of your applications...
Since this was my fist article for codeproject, please leave comments on how I can make it better... any suggestion, good or bad will help me to write better articles in the future...
PS: Also please rate the article... even if you thought it sucked!
Useful Blogs
History
- 9-August-2007 - First draft
- 12-August-2007 - Added some images & updated the conclusion
This member has not yet provided a Biography. Assume it's interesting and varied, and probably something to do with programming.


 General
  News
News  Suggestion
  Question
  Bug
Bug  Answer
  Joke
Joke  Praise
  Rant
Rant  Admin
Admin 


