Introduction
This article is intended to be a quick start guide to implementing a grid within an ASP.NET MVC application. Keeping it simple is key here so I don't want to get distracted with code that's not related to the grid, so with this in mind a number of best-practice design liberties have been taken.
I've tried to use as little code as possible to demonstrate how to drive the grid from an MVC controller by passing JSON-encoded data.
The source code was created with Visual Studio 2010 and tested on Windows 7 but it should compile with Mono and run on Linux/OS X machines too.
Background
There are many excellent JavaScript grid components available that I could have used but I've chosen SlickGrid as it is established, actively developed, and has great documentation. In addition to this, SlickGrid has a reputation for being lightning fast.
Create a new ASP.NET MVC Web Application
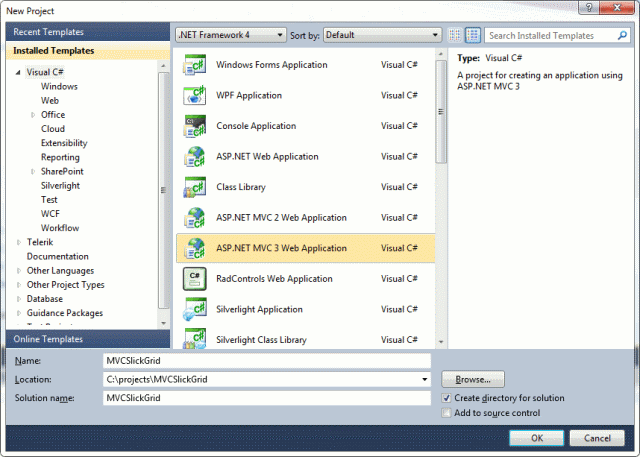
Open Visual Studio and create a new ASP.NET MVC 3 Application:
When prompted, select "Internet Application" as the template and the view engine as "Razor".
Add SlickGrid to the project
SlickGrid is currently hosted on GitHub and can be downloaded from here.
Download and extract the archive and copy the following files into the project
Scripts directory and add them to the project:
- slick.core.js
- slick.grid.js
SlickGrid also has a dependency on jquery.event.drag, this should be included in the above archive so copy that into the
Scripts folder and add it to the project as well:
- jquery.event.drag-2.0.min.js
Finally add the SlickGrid stylesheet to the Content directory and add it to the project:
Create some dummy data in the Controller (HomeController.cs)
The first thing to do is define a class for the data type we want to display in the grid. To keep things simple, the following class is defined in
HomeController.cs:
[Serializable]
public class Player
{
	public int ShirtNo { get; set; }
	public string Name { get; set; }
}
Now a dummy method is implemented to return data that can be displayed in the grid.
Again this is implemented in the HomeController class within HomeController.cs:
public string ArsenalX11()
{
    List<Player> theSquad = new List<Player>{
        new Player{ShirtNo=4, Name="Mertesacker"},
        new Player{ShirtNo=5, Name="Vermaelen"},
        new Player{ShirtNo=7, Name="Rosicky"},
        new Player{ShirtNo=8, Name="Arteta"},
        new Player{ShirtNo=10, Name="Van Persie"},
        new Player{ShirtNo=11, Name="Santos"},
        new Player{ShirtNo=13, Name="Szczesney"},
        new Player{ShirtNo=14, Name="Walcott"},
        new Player{ShirtNo=17, Name="Song"},
        new Player{ShirtNo=19, Name="Wilshere"},
        new Player{ShirtNo=28, Name="Gibbs"}
        };
    JavaScriptSerializer serializer = new JavaScriptSerializer();
    return serializer.Serialize(theSquad);
}
JavaScriptSerializer requires System.Web.Script.Serialization, to add this, right click on JavaScriptSerializer and Resolve.
We're returning JSON data here as it's a simple format that can be fed directly into SlickGrid so this takes us nicely onto the next step.
Define the grid in a JavaScript file
Create a new JavaScript file in the Scripts directory and call it SlickGridTest.js.
This JavaScript in the SlickGridTest.js file will do the following:
- Define the grid columns
- Request the data from the
HomeController
The JSON encoded data from the controller is loaded via the jQuery call getJSON().
var grid;
var columns = 	[
					{ id: "ShirtNo", name: "ShirtNo", field: "ShirtNo" },
					{ id: "Name", name: "Name", field: "Name" },
                ];

var options = {
    enableCellNavigation: true,
    enableColumnReorder: false
};

$(function () {
    var myData = [];
    $.getJSON('/Home/ArsenalX11', function (data) {
        myData = data;
        grid = new Slick.Grid("#teamGrid", myData, columns, options);
    });
});
Note that the columns are hard coded for simplicity, but they could easily be setup via data received from the controller as per the content.
Refer to the SlickGrid documentation for more information.
With the JavaScript in place, the last task is to define the grid in the Home View.
Add the grid to the View (Home\Index.cshtml)
The final step is to display the grid within the view, this requires adding the references to SlickGrid and the above
SlickGridTest.js file:
<link href="@Url.Content("~/Content/slick.grid.css")" rel="stylesheet" type="text/css" />
<script src="@Url.Content("~/Scripts/jquery.event.drag-2.0.min.js")" type="text/javascript"></script>
<script src="@Url.Content("~/Scripts/slick.core.js")" type="text/javascript"></script>
<script src="@Url.Content("~/Scripts/slick.grid.js")" type="text/javascript"></script>
<script src="@Url.Content("~/Scripts/SlickGridTest.js")" type="text/javascript"></script>
Adding the grid is now simply a case of specifying it within a div:
<table width="100">
  <tr>
    <td>
      <div id="teamGrid" style="width:400px;height:300px;"></div>
    </td>
  </tr>
</table>
Finished!
Press F5 to run the application and see the grid in action:

History
- 11 April 2012: Initial post.
This member has not yet provided a Biography. Assume it's interesting and varied, and probably something to do with programming.


 General
  News
News  Suggestion
  Question
  Bug
Bug  Answer
  Joke
Joke  Praise
  Rant
Rant  Admin
Admin 


