Introduction
ASP.NET Dynamic Data provides a framework that enables you to quickly build a functional data-driven application, based on a LINQ to SQL or Entity Framework data model. It also adds great flexibility and functionality to the DetailsView, FormView, GridView, and ListView controls in the form of smart validation and the ability to easily change the display of these controls using templates. Dynamic Data is part of the .NET Framework version 3.5 SP1 release.
Background
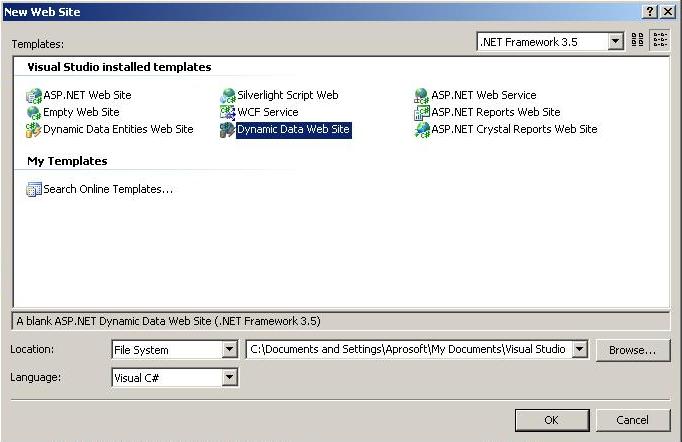
We want to create a web site and we will see couple of temple after installing SP1, One is “Dynamic Data Website” and other is “Dynamic Data Entity Website”. Here we are now going to create our first Dynamic data web site by generating some Scaffolding. Below we can see the files automatic generated by the template.

Using the Code
The code that has been generated is massively flexible. So you can basically update every single detail how your application works and how your data will appear. It is not the other type of code generation. And, this is not all about code generation; code generation is only a feature of Dynamic data. So you can choose code generation or not to generate any code that you can start from the scratch or you can add dynamic data to your existing application First of all you can see a Global.asax file added to your application. Dynamic data application is depends on some settings that is managed from Global.asax file. The other thing is “Dynamic Data” directory. Under the directory you can look up at the section “Page Templates”. Note that, there have all the pages that might be use in a database application. You need to remember that those are only templates and you do not have selected any database so far! So this is not database specific, this is highly template model. You can also create new templates or table specific pages to work with your application. Next, you can see “field templates”. There you can see lot of ascx control files. Notice, you can see Text, Integer, Boolean, DateTime and for many of this you have Text.ascx, Text_Edit.ascx for Text. In this case, for the TextFields Text.ascx for viewing a Text field in a non-editable fashion and Text_Edit is for the edit experience for the particular field. And again these are templates so, you can modify a one of the text templates to change how a text box get displayed anywhere in your application. Now you can see a custom page section. You can add custom pages whatever you want to create and call from your application.
The next thing is we need to add some data to our application. I used Northwind sample database for this application. I created connection through Server Explorer.
Now we need to add some API to access our database. So to get that, I used “Linq to SQL Classes”
Here you can see in the “NorthwindDataContext” is our Data Context. And this is the main entry point to our database operation.
Now I’ve selectively chosen some tables and drop it to the dbml designer. Note that the background CS code should be updated. You can see the table and the relations on the designer.
Now let’s see our Global.asax file. It is very important to get acknowledged about the file.
Here "YourDataContextType" is our "NorthwindDataContext" And also at the end of the code you can see { ScaffoldAllTables = false }. It is false by default because you might not want scaffolding to the entire schema. Here in my article I’ve make the scaffolding to true as I don’t like to make any custom pages and so that dynamic data runtime can generate all the scaffolding for us. With that we have the project and run the project.
model.RegisterContext(typeof(NorthwindDataContext), new ContextConfiguration() { ScaffoldAllTables = true });
routes.Add(new DynamicDataRoute("{table}/{action}.aspx") {
Constraints = new RouteValueDictionary(new { action = "List|Details|Edit|Insert" }),
Model = model
});
That's all. You can see styles have been added to the scaffolding code as because a css file is added to the entire application. You can modify the CSS or add custom inline styles to the template.
Points of Interest
I’m interested on the latest .NET technologies and the best practices.
History
21th November 2008. 1st Draft.


 General
  News
News  Suggestion
  Question
  Bug
Bug  Answer
  Joke
Joke  Praise
  Rant
Rant  Admin
Admin 


