3 Ways to Update the Application Tile Content in Mango
A look at how to update the Application Tile Information in Windows Phone 7 Mango
Introduction
Have you ever wondered how to update the Application Tile in your Windows Phone 7 Mango application? Me too. But before we dig in, let’s look at the properties of a Tile.
Microsoft defines each one as listed below:
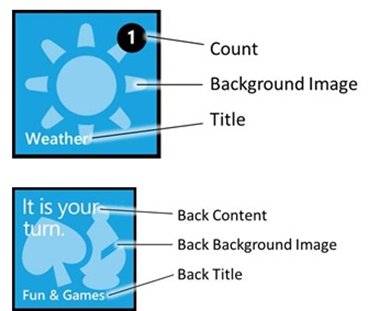
Title: Astringindicating the title of the application. The Title must fit on a single line of text and should not be wider than the actual Tile. Approximately 15 characters will fit in the title before being truncated.BackgroundImage: An image displayed on the front of the Tile. We recommend that you always have a background image on the front of the Tile.Count(also known asBadge): An integer value from 1 to 99. If the value ofCountis not set or it is set to0, the circle image and value will not display in the Tile.BackTitle: Astringdisplayed at the bottom of the back of a Tile. TheBackTitlemust fit on a single line of text and should not be wider than the actual Tile. Approximately 15 characters will fit in the title before being truncated.BackBackgroundImage: An image displayed on the back of the Tile.BackContent: Astringdisplayed in the body of the back of a Tile. Approximately 40 characters will fit in the Tile before being truncated.
(Images taken from MSDN overview.)
Let’s get started.
What we are going to focus on today is the three ways to update the Application Tile.
- The first way is pretty weak as you can only change two options. The Title and the Background Image. If you right click on the project and go to Properties, then you will see that you can set the Title and Background image.

If you run this, it’s pretty boring stuff:

- The second option is much much better as it allows you to modify all the properties by the use of the WMAppManifest.xml. If you create a new Windows Phone 7 Mango Application and head straight to the Properties –> WMAppManifest.xml then you will see the following:

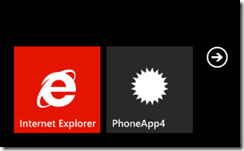
If you run the app and pin it to the start screen in the emulator, then you should see something like this:
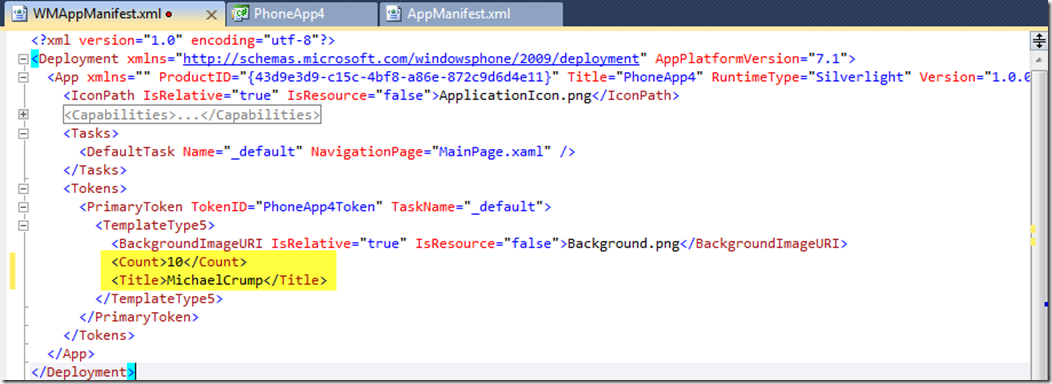
Pretty standard stuff right? Well, let’s change the count and title of the Application Tile by heading back to the WMAppManifest.xml and changing the Count and Title to the following:
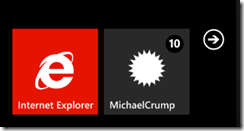
After you deploy it again and “Pin to start” then it should be updated as shown below. We could have changed the background image, but for now the default will do.
But that’s not all we can do. If we type a “<” after the last </title>, then it brings up other options as shown below:
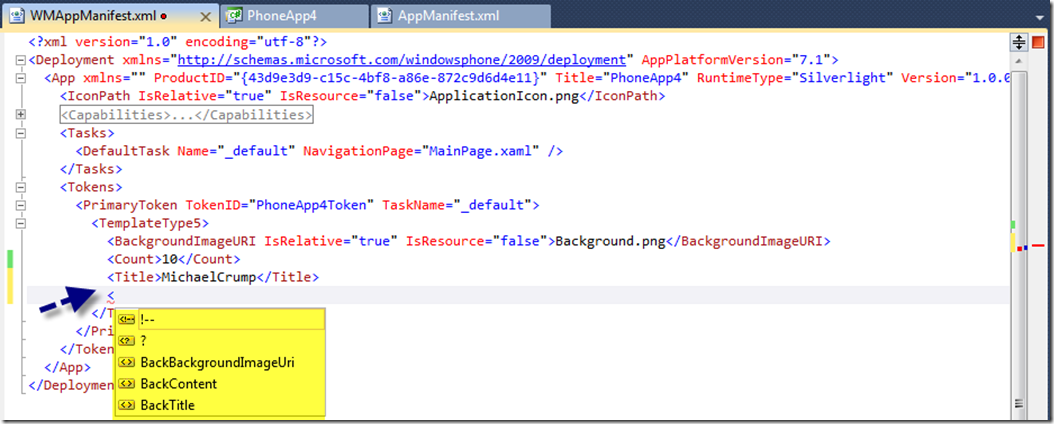
Let’s play with a few of these real quick.
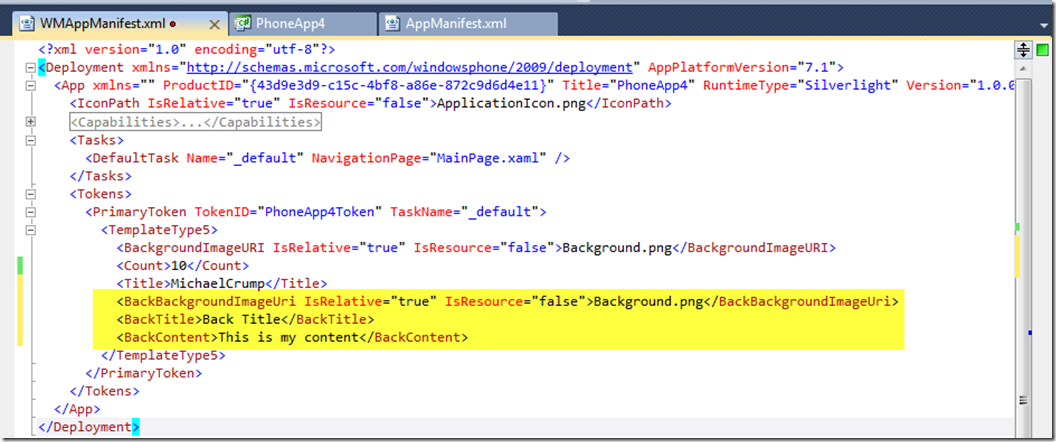
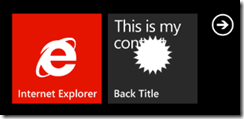
Now if we deploy it again and give it a few seconds, the Application Tile will flip over and reveal the information we just set for the back tile.
One other thing to note before we leave this section is that Comments work just fine in the WMAppManifest.xml file.

- The third way that we can change the Application Tile content is through code:
ShellTile firstTile = ShellTile.ActiveTiles.First();
var newData = new StandardTileData()
{
    Title = "MichaelCrump.Net",
    BackgroundImage = new Uri("background.png", UriKind.Relative),
    Count = 6,
    BackContent = "New BackContent",
    BackTitle = "New BackTitle",
    BackBackgroundImage = new Uri("background.png", UriKind.Relative),
};

// Update the default tile
firstTile.Update(newData);
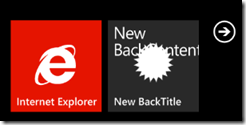
We go ahead and run our application now and trigger this code, through a Click event or whatever. Then we will see our Application Tile has updated:

and when the tile flips, it looks like this:
Conclusion
As you can see, it is pretty easy to update the Application Tile. The one thing to remember about updating the Application Tile is that your content will wrap and it is best to use one to two words if possible. We will look at creating Live tiles in the next part of this series. Thanks for reading and have a great day.