
Introduction to Silverlight 2 using DeepZoom
3.67/5 (5 votes)
How to use DeepZoom
Introduction
Knowing how to titivate and place images in the places in an application does not make a person a good programmer. Atleast that’s the only way to protect myself from criticism that comes from someone who knows how to place a photo in a right place. In my early days of programming in C++ under Linux environment, in Java times of JDK 1.2 we have never experienced what today’s programmer’s experience. Java GUI was not nice, VB6 programmers needed more skinners to make their application crispier and till today I have never seen a nice GUI of an application created with early C++. Finally that made me not to be good in Titivation.
Background

In 2008, my (City of Tshwane) previous company employer took me to Tech-ed 2008 in South Africa (Durban). For me it was a holiday, because I already knew what was to be presented. On the final day of the Conference, there were some last Presentations that were non-Microsoft related and one guy presenting about space products that the company virgin offered. The guy was not using PowerPoint, he kept Zooming into an Image that Zoomed into another image that Zoomed into another one again. When he finished Presenting he bragged and said “Ladies and gentlemen, I hope you see that I don’t use PowerPoint, I introduced to you, “DeepZoom” this can be used with Silverlight 2”. It was amazing and that gave a developer like me, who is not a good titivator a chance to titivate his website once and for all.

Using the Code
In order to follow my steps in this article, you are going to need a few things that do not come with Visual Studio. The nice thing is that you can download those tools for free. The first thing we going to need is “DeepZoom Composer” that is downloadable from here. And you need Visual Studio 2008 or you can download the Express edition here. And the last thing is the SilverlightTools that can be downloaded from here.
Start
Now we are going to make our small project that will demonstrate DeepZoom capabilities and how you can use them in your website. The Web Host I am using for my website does not belong to me, so I can’t use Silverlight there, but you can find a fully working website that can demonstrate the features of DeepZoom here.
DeepZoom Composer
After installing a DeepZoom Composer, open it and the following dialog box will show:
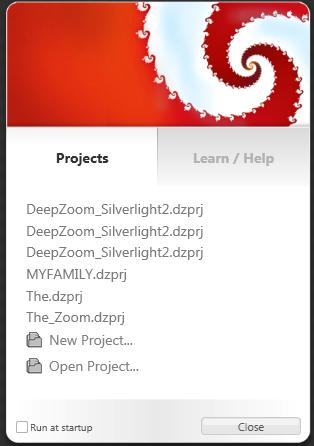
As the first time user, you will not see any projects, but as you can see I have created some projects before. Next is to click on new Project and you will see the following:
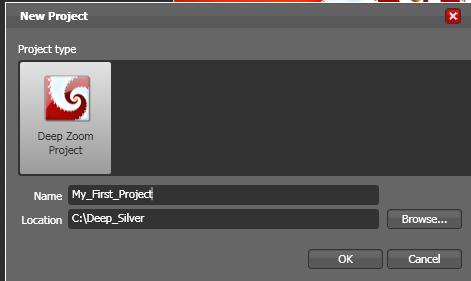
Give it a meaningful name and place it in its own directory, because Silverlight files are a little bit complicated, later you will see which ones are important in our project. When done, click ok.
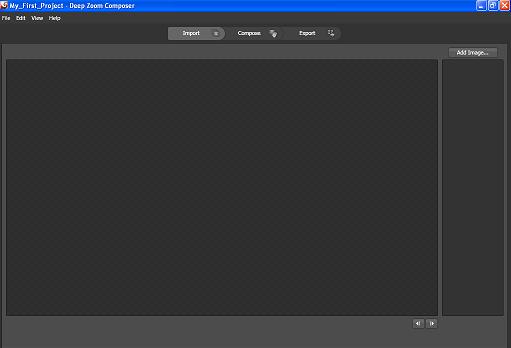
Now what you see is our workspace, but first we must import images as you can see above. We have 3 steps:
Step 1: Importing of Images
Step 2: Placing the Images in the canvas, hiding images behind images or on top of images
Step 3: Export the DeepZoom project and convert it into a Silverlight 2 project that can be opened in Visual Studio 2008.

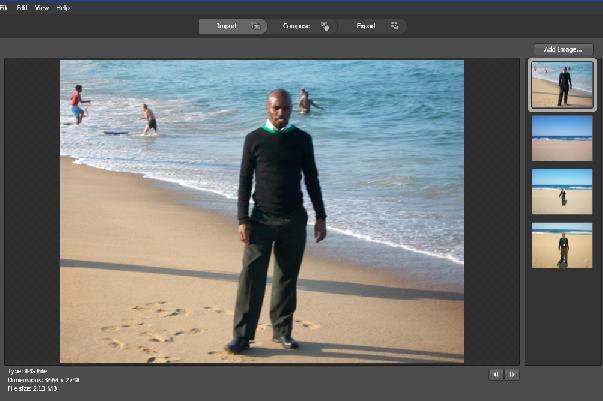
Let us Import four images and after we have added our images, things will look like this:
Now let’s move to Step 2, in the above menu Click on Compose and the Screen will look like this:

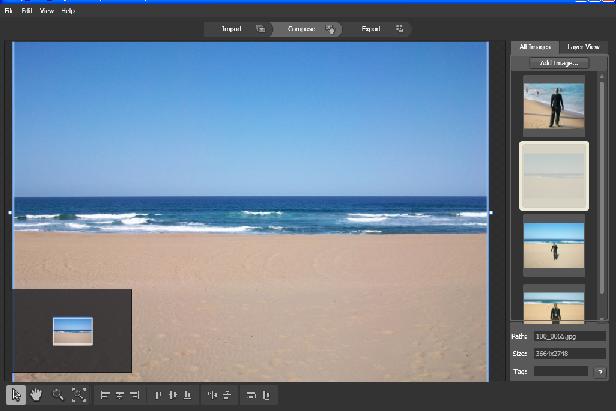
Now what you need to do is to drag the images to the wide empty space and start arranging them the way you want them. Now in the following step, I need you to watch carefully. I will drop the First Image that will Fill the Canvas like this:
Now remember if you drop a photo, you cannot drop it again, unless you make a copy of it with another name. So after you drop it on the canvas, it will be disabled, that means you cannot drop it again. Now as you can see, I have a nice empty beach and in the beach I want to place my other image. Now let’s place another image.
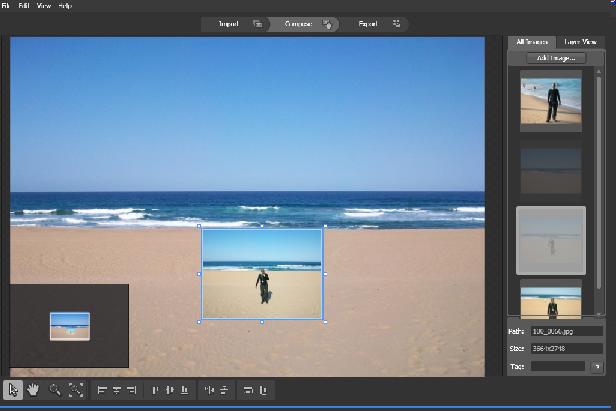
As you can see, I have placed my image on top of the beach image, but to demonstrate DeepZoom capabilities, we have to hide this image. To hide this image, hold one of the handles of the image and drag it to itself.

The picture is shrinking; shrink it until you see something like this:

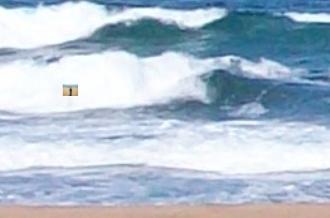
Now let’s drag this so that it can be seen as a small dot. Now our Composer will look like this:
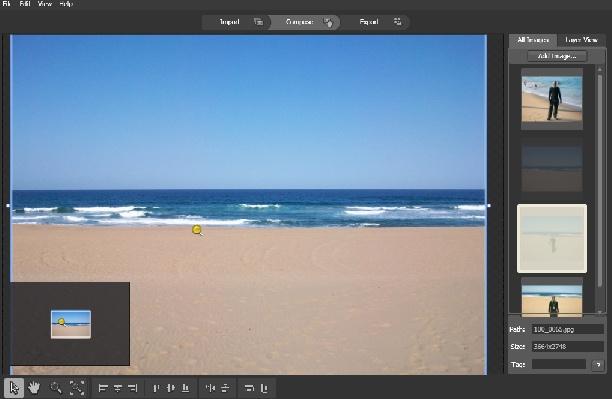
That yellow pin is our picture, but when we test the Project we will not see a yellow pin, but if we click towards that area we will see a small dot and if we continue following the dot, it will be our image and it will outgrow the container image. Now let's add another image again shrink it as we did with this one.
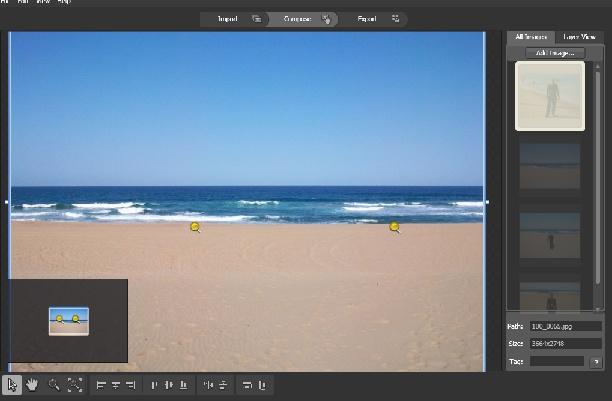
After I am done, my Composer will look like this. Now all the steps are done except the last one, using the above menu, move to Export.

Moving to export, there are some Settings that need to be chosen. Let us look in detail in the settings dialog:
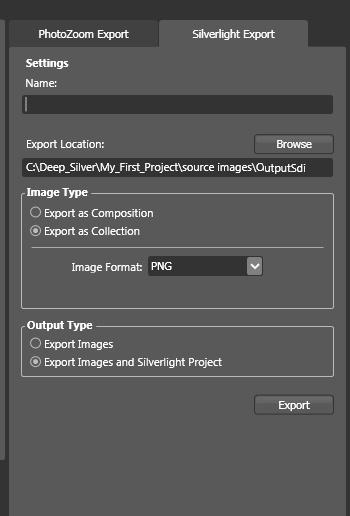
In this step, DeepZoom will create a Silverlight project, as you can see you can change the Format of the images, but for now, let's keep it defaulted to PNG and in the Output type, this is where you tell DeepZoom to create a Silverlight Project or you only want images. By default it will choose the “Export images and Silverlight Project” do not change it leave it as is. After everything is completed, click on the Export Button and wait for it to Finish.
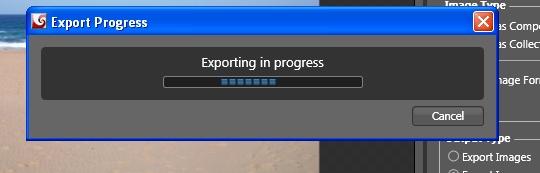
When done, you will be given a chance to see how your project will look, by clicking on the Internet icon (1st) in the following options.

Let’s see how it looks.
Output
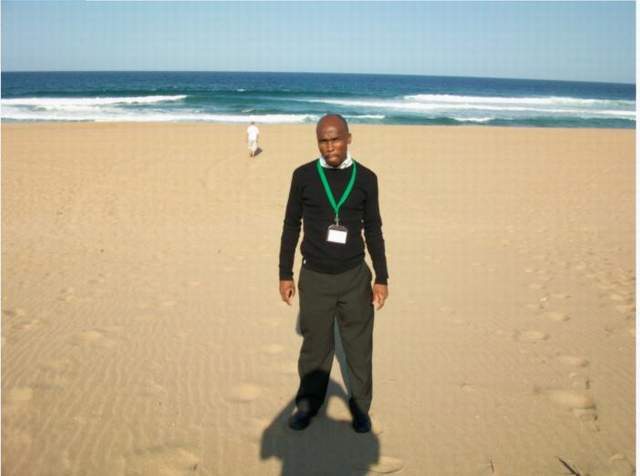
My Webpage will look like this:
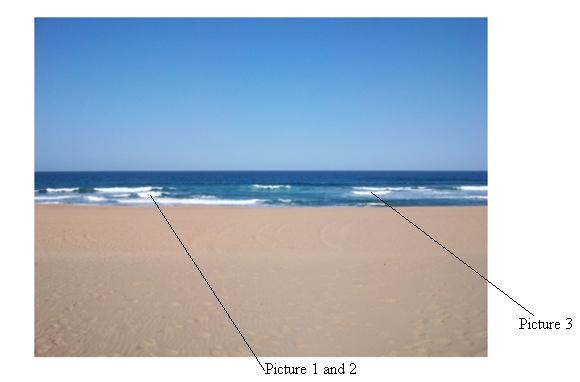
Now remember that we have hidden Pictures and what we can see is our nice simple clean beach, and if I want to tell you a Story about Durban in South Africa, I will just click and Zoom to the Picture that is hidden, let us go to Picture 1, Click on the Hot Spot and until you see something like this:
Move to our picture
As you can see, the main Picture is fading and the destination picture is taking over the page like this:
With DeepZoom you can do a lot, you can Zoom from inside a photo and inside another photo, like a Container into a Container. I think I have said enough. Lastly DeepZoom creates a Project that can be opened in Visual Studio. If you did not install Silverlight tools, your Solution Explorer will look like this:
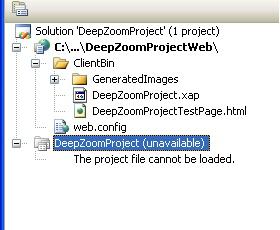
To resolve this, install the Silverlight tools and right click on the dead Project and open it, look for this line in the Project File:
<Import Project="$(MSBuildExtensionsPath)\Microsoft\Silverlight\
	v2.0\Microsoft.Silverlight.CSharp.targets" />
When done, leave it like that and go to your:
C:\Program Files\MSBuild\Microsoft\VisualStudio\v9.0\Silverlight\
Check if there is a Silverlight folder and check if the file Microsoft.Silverlight.CSharp.targets is available and if it is there, change the above line in the Project file to:
<Import Project="$(MSBuildExtensionsPath)\Microsoft\
	VisualStudio\v9.0\Silverlight\Microsoft.Silverlight.CSharp.targets" />
And right click on the dead project from the Solution Explorer again and select “Reload project” and the dead project will be revived. Explaining the files structure of Silverlight generated project will be a future task.
Wow this is my first article where I did not have to write a single line of code. As you can see, the project has an HTML file, but in case of moving the functionality to the aspx page, you need to write code. :)
Conclusion
I too, am a learner in the Subject of Silverlight; I promise to share other resources when I can in this subject. For it is our opportunity to titivate our website and tell stories about our past with only a click in a single webpage.
Thank you!
History
- 3rd February, 2009: Initial post