Introduction
When I wrote the article "Making Transparent Control" in 2005, the feature that I knew back then to get transparency was using the CreateParams class. Unfortunately this
solution is not perfect and did the control get flickering. This let me sad.
Later, I tried to work on a new solution that could eliminate all the issues presented with the version made with CreateParams. The basic idea was to capture the image behind of the Control
and use it as background. Finally, after exploring thoroughly the MSDN library I came across the DrawToBitmap method and finally arrived at the solution that I so wanted.
Since then, I've been using this new control and now would like to share that solution with the CodeProject
community. The TranspControl and the DemoProgram were created under Windows 7 X64 platform and no problems were noted during the tests.
The following will describe the most important features of TranspControl:
Transparency Modes

The background of TranspControl is designed to have two modes of transparency. This will allow the control to be
used in the most diverse application situations. In both modes, the non-background part can be semi-transparent, opaque or even transparent.
Glass Mode

In Glass mode, the background is like a glass. It can be translucent, semi-transparent or opaque. The level of transparency must
be adjusted in the Opacity property. The Opacity property ranges from 0 to 100 where the value 0
makes the Control translucent and the value 100 makes the Control fully opaque. The Opacity affects also the fill color of drawn objects, such as
shapes, for example. The fill color is determined in the FillColor property and
the background color is determined in the GlassColor property. Setting the GlassColor property to color Transparent
you get a translucent background.
True Transparent Background

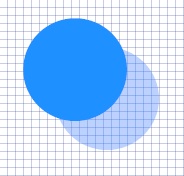
In this mode, the Control region does not contain a background and only the drawn object is rendered. There, you can also set the level of transparency through the Opacity property.
In the figure shown above, the color of the shape border line was set to transparent color.
Setting the FillColor property to color Transparent, the inner part of the shape will not be rendered and you get an effect like a holed shape.
Semitransparent Image

Additionally, TranspControl has support for semitransparent image. The effect of the image transparency is also adjusted in the Opacity property. A transparency key is provided
in order you can determine the transparent color for the image background.
The picture shown above has a white color background. So, the key color was set to the color white. As you
can see, the background of the image became transparent.
Getting the Background
The trick to get an effect of transparent background is to grab the image behind the Control to the Control
itself. The method DrawToBitmap is very appropriate for this purpose.
For reasons of discipline, this is done in the OnPaintBackgroud method. See the code.
protected override void
OnPaintBackground(PaintEventArgs e)
{
    base.OnPaintBackground(e);
    Graphics g = e.Graphics;

    if (Parent != null && !drag)
    {
        int index = Parent.Controls.GetChildIndex(this);

        for (int i = Parent.Controls.Count - 1; i > index; i--)
        {
            Control c = Parent.Controls[i];
            if (c.Bounds.IntersectsWith(Bounds) && c.Visible)
            {
                Bitmap bmp = new Bitmap(c.Width,
                c.Height, g);
                c.DrawToBitmap(bmp, c.ClientRectangle);
                g.TranslateTransform(c.Left - Left, c.Top - Top);
                g.DrawImageUnscaled(bmp, Point.Empty);
                g.TranslateTransform(Left - c.Left, Top - c.Top);
                bmp.Dispose();
            }
        }
    }

    if (BackImage != null && GlassMode && !drag)
    {
        Bitmap image = new Bitmap(BackImage);
            image.MakeTransparent(TranspKey);
            float a = (float)opacity / 100.0f;

        float[][] mtxItens = {
        new float[]
            {1,0,0,0,0},
        new float[]
            {0,1,0,0,0},
        new float[]
            {0,0,1,0,0},
        new float[]
            {0,0,0,a,0},
        new float[]
            {0,0,0,0,1}};
        ColorMatrix colorMatrix = new ColorMatrix(mtxItens);

        ImageAttributes imgAtb = new ImageAttributes();

imgAtb.SetColorMatrix(
        colorMatrix,
        ColorMatrixFlag.Default,
        ColorAdjustType.Bitmap);

        g.DrawImage(
                image,

ClientRectangle,
                0.0f,
                0.0f,
                image.Width,
                image.Height,
                GraphicsUnit.Pixel,
                imgAtb);
    }
}
Drawing the Control
Here you draw your code. Just for a sample I drew a simple ellipse. See the code.
protected override void
OnPaint(PaintEventArgs e)
{
base.OnPaint(e);
Graphics g = e.Graphics;
g.SmoothingMode = SmoothingMode.AntiAlias;
g.PixelOffsetMode = PixelOffsetMode.HighQuality;
g.CompositingQuality = CompositingQuality.GammaCorrected;
RectangleF bounds = this.ClientRectangle;
alpha = (opacity * 255) / 100;
float penWidth = (float)LineWidth;
Pen pen = new Pen(Color.FromArgb(alpha, ForeColor), penWidth);
pen.Alignment = PenAlignment.Center;
Brush brushColor = new SolidBrush(Color.FromArgb(alpha,
FillColor));
Brush bckColor = new SolidBrush(Color.FromArgb(alpha,
GlassColor));
GraphicsPath shape = new GraphicsPath();
GraphicsPath regionShape = new GraphicsPath();
GraphicsPath innerShape = new GraphicsPath();
regionShape.AddEllipse(bounds);
Region region = new Region(regionShape);
RectangleF inner = bounds;
inner.Inflate(-penWidth, -penWidth);
inner.Inflate(-2.0f, -2.0f);
innerShape.AddEllipse(inner);
Region innerRegion = new Region(innerShape);
if (GlassMode)
{
Region = new Region();
if (GlassColor != Color.Transparent && Opacity > 0)
{
g.FillRegion(bckColor, Region);
}
}
else
{
if (FillColor == Color.Transparent || Opacity == 0)
{
region.Exclude(innerRegion);
}
Region = region;
}
bounds.Inflate(-1.0f, -1.0f); ellipse inside the region
shape.AddEllipse(bounds);
if (FillColor != Color.Transparent && Opacity > 0)
{
g.FillPath(brushColor, shape);
}
bounds.Inflate(-penWidth / 2.0f, -penWidth / 2.0f);
if (ForeColor != Color.Transparent && Opacity > 0)
{
g.DrawEllipse(pen, bounds);
}
brushColor.Dispose();
bckColor.Dispose();
pen.Dispose();
regionShape.Dispose();
innerShape.Dispose();
shape.Dispose();
innerRegion.Dispose();
region.Dispose();
}
}
Examples
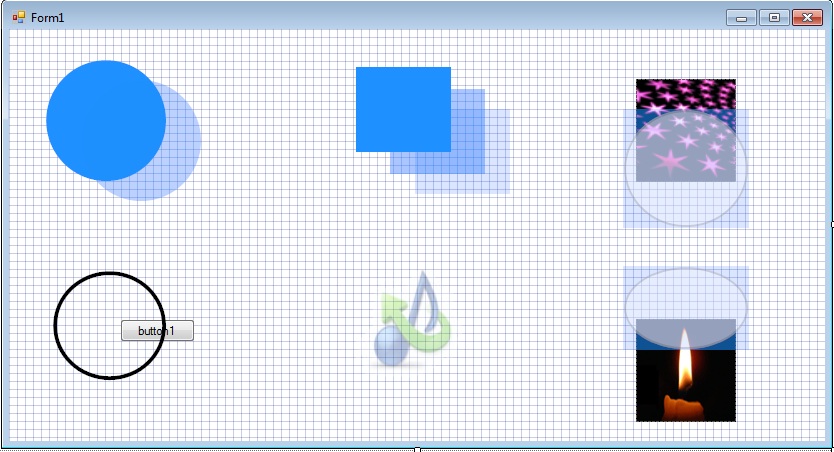
Below you can see some examples I have used to test the TranspControl component. The following Form properties were changed:
BackColor:         Color.White
BackgroundImage:   TechPaper.png
DoubleBuffered:    True

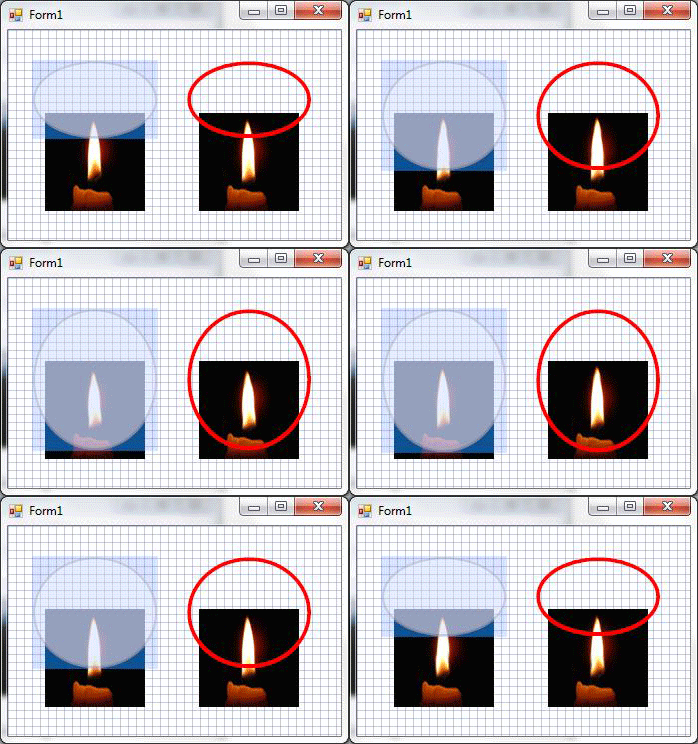
On the right side of the Form there are picture boxes behind the TranspControl. The picture boxes contain animated
gif images and you can watch the animation even they are behind the Control.
As another point of interest is the circle over the button. There you can press the button with the mouse even in the inner part of the circle.
Cheers. Hope this article can be helpful.
