
Creating Real-Time System Notifications with SignalR
4.50/5 (9 votes)
How to create a real-time notifications system using ASP.NET and SignalR
Introduction
With any heavily used or “mission critical” application, it is important to notify users of any planned outages or maintenance windows. However, if a user isn’t refreshing or updating a page often, they run the risk of missing these notifications. Fortunately, with SignalR, you can push notifications to users without waiting for them to refresh or update a web page. SignalR is a library for ASP.NET developers that makes the process of adding real-time web functionality to applications very simple.
Setting up our Project
To get started with SignalR, we first have to install the NuGet packages. Right-click on our web application and select “Manage nuget packages…”. From here, search for SignalR in the top right search field and install “Microsoft ASP.NET SignalR”. This will install the necessary packages and DLLs for SignalR.
Next, we will register the URL routes needed by SignalR to communicate with our web pages. If our application doesn’t include a global.asax, create one by right-clicking on the your web project and clicking “Add -> New Item”. Under Web, select Global Configuration File. Now that we have our global.asax file, we can register the needed routes in the Application_Start method:
protected void Application_Start(object sender, EventArgs e)
{
      // Register the default hubs route: ~/signalr/hubs
      RouteTable.Routes.MapHubs();
}
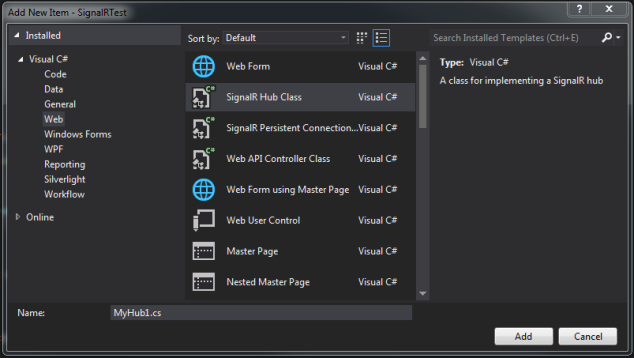
Getting Started with our Hub
Hubs are high-level pipeline objects used by SignalR that enable the client and server to call methods directly. Since our notification system is one-way, from the admins to the users, our hub only needs one method, SendNotification:
public class NotificationsHub : Hub
{
	public void SendNotification(string author, string message)
	{
		Clients.All.broadcastNotification(author, message);
	}
}
This is the method that is called by the admins to send messages to all users of the application. Inside this method, we choose how to handle and route the message. The line:
Clients.All.broadcastNotification(author, message);
means we will send this message to all clients who are subscribed to handle the broadcastNotification event.
Adding Notifications to our Webpage
Now that we have a hub sending messages, we need to add the client side code to consume and present the information to the user.
First, we will include the necessary scripts:
<!--Reference the jQuery library. -->
<script src="http://www.codeproject.com/Scripts/jquery-1.8.2.min.js" ></script>
<!--Reference the SignalR library. -->
<script src="http://www.codeproject.com/Scripts/jquery.signalR-1.0.0.js"></script>
<!--Reference the autogenerated SignalR hub script. -->
<script src="http://www.codeproject.com/signalr/hubs"></script>
Next, we start up SignalR connection:
// Start the connection.
$.connection.hub.start().done(function () {
});
Inside this method, we would add any events to send information to the hub. Since the client portion is read-only, it is left blank. We will be sending the notifications in the admin page.
With our connection set up, we will now create our hub proxy. This allows us to interact with specific hubs in our application.
var notifications = $.connection.notificationsHub;
Note: We use camel casing on the client when referencing our hub, despite the fact that the class name for our hub does not.
The final touch for the page will be actually handling incoming messages from the server. For this, we specify an inline function to handle the messages:
notifications.client.broadcastNotification = function (name, message) {
	alert(name + " says '" + message + "'");
};
The broadcastNotification method is the same one referenced in the NotificationsHub we created earlier. Any messages sent from the server via that method will be captured with this piece of JavaScript.
Sending Notifications
Now that we have everything in place to receive notifications, we create the page to publish them. For this page, we need to reference the same JavaScript libraries we used earlier:
<!--Reference the jQuery library. -->
<script src="http://www.codeproject.com/Scripts/jquery-1.8.2.min.js" ></script>
<!--Reference the SignalR library. -->
<script src="http://www.codeproject.com/Scripts/jquery.signalR-1.0.0.js"></script>
<!--Reference the autogenerated SignalR hub script. -->
<script src="http://www.codeproject.com/signalr/hubs"></script>
Next, we’ll create the form needed to input the notifications we’ll be sending to our users:
<label for="messageAuthor">User sending message:</label>
<input type="text" id="messageAuthor" /><br/>
<label for="message">Message:</label>
<input type="text" id="message" />
<input type="button" id="sendmessage" value="Send" />
With the form in place, we can wire into SignalR. On the notifications page, when we added the code to start our connection, we left the start function empty. However, here we will add the code necessary to push our message to the users:
$.connection.hub.start().done(function () {
	$('#sendmessage').click(function () {
		// Call the Send method on the hub.
		notifications.server.sendNotification($('#messageAuthor').val(), $('#message').val());
	});
});
Here, you can see we call the SendNotification method on the server (again, with camel-casing of the method name). If you review the SendNotification method again, note that this method routes the messages you send back to all of our clients.
There you have it. Any alerts or messages that need to be sent to our clients can be done in real-time - without the need for users to update or refresh their webpage.