Intro ->
Before going to development, I'll start with the overview of Newgen HTML Widgets System.
Newgen uses the virtual web server created using
TcpListener. This server is created by Newgen at runtime at any free
port available that time. <Newgen>\Widgets is the base directory for this server.
The HTML Widgets, in simple, are just HTML files run
by the Webkit. There are some reasons, for why I wasted time on creating the server. I'll not tell that.
Basic requirements and information ->
There are several javascript functions that you can use to do certain tasks, like loading and saving data, showing message, etc...
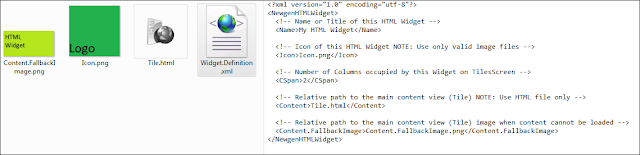
More details. For a widget, to be identified by Newgen, the widget definition must
be present in the same directory as widget files. The definition file is Widget.Definition.xml and below is template for it.
="1.0"="utf-8"
<NewgenHTMLWidget>
<Name>My HTML Widget</Name>
<Icon>Icon.png</Icon>
<CSpan>2</CSpan>
<Content>Tile.html</Content>
<Content.FallbackImage>Content.FallbackImage.png</Content.FallbackImage>
<Hub>Hub.html</Hub>
<Options>Options.html</Options>
</NewgenHTMLWidget>
Their is also a widget sample, you can get it from here.
Also download Widget Packing Tool (You'll need it, if you want your widget in Newgen Store).
First step: Preparing ->
Ok, let's start. Follow the process.
- Create a folder <Newgen>\Widgets\<Widget Name>.
- Then, create a file in above folder as Widget.Definition.xml with the given template above. NOTE: The folder name and widget name must be same.
- Then open Photoshop or any Image editor and create a logo (Icon) and a default preview of your widget's Tile (Content.FallbackImage) for your widget in .png format.
- Fill out and correct the file names in Widget.Definition.xml.
- Now, create a file Tile.html in folder at step 1. You can use any name for file, just make sure that you correct it in definition.
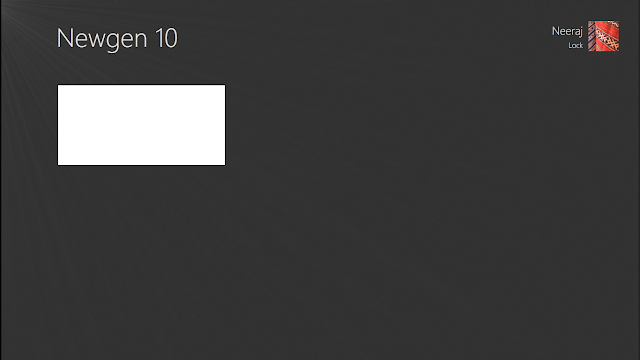
- You have made a widget for Newgen, which'll show only a white space. Now, run Newgen and test it.


 General
  News
News  Suggestion
  Question
  Bug
Bug  Answer
  Joke
Joke  Praise
  Rant
Rant  Admin
Admin 


