Introduction
In this tutorial, I'm going to explain how to draw and animate WPF Fan control that can be used in Manufacturing Simulation, using Blend 2. It is only XAML code. By the end of this tutorial, you'll know:
- how to draw basic element using Blend 2
- how to animate
Background
Get some basic knowledge of Blend 2 from: .NET 3.0 WPF Tools && Examples.
Using the Code
Step 1: When you create a new application project in Blend 2, you should see the Window and Layout Root Grid in the Objects and Timeline. Add Grid and Canvas as shown below:

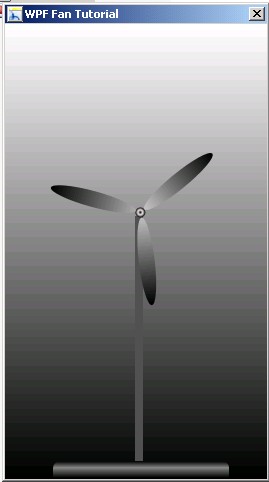
Step 2: Draw the Stand of the Fan using Rectangle Element in Blend 2. There are two Horizontal Rectangles and one Vertical Rectangle.
Step 3: Draw the Cap and Wings of the Fan using Eclipse Element in Blend 2. You can show Transform and Rotate to duplicate the wings drawing.
Step 4: After finishing the Fan drawing, you can add a new Storyboard by clicking "+".
Enter the Name of the Storyboard.
Step 5: From the storyboard, click on "+" to enable recording.
You shall notice "Timeline recording is on" is shown.
Step 6: Draw the timeline from 0:00.000 to 0:00.100.
Step 7: Select the FanCanvas from Objects and Timeline and make sure it is on focus.
From the Designer windows, looks for the rotate icon at the edge of the canvas.
Rotate the canvas 360 degree. You shall notice Render Transform->Rotation->Angle are added.
Step 8: Right-click on the Angle Timeline and you shall notice the "Edit Repeat Count".
Step 9: Click on the infinity icon from the window to make sure it rotates forever.
Step 10: Add basic Triggers interaction by Adding +Event->Window.Loaded->TurningFan.Begin.
Step 11: Press F5 and your first WPF Fan is completed.


