Introduction
This tip is an overview about how to create reports in Microsoft Dynamics CRM 2011.
Reporting is an essential and valuable process for any company. For organizations using Microsoft Dynamics CRM 2011 as the tool for customer relationship management, here are a few instructions for creating reports in it. We will also discuss how to run special reports to show customized data.
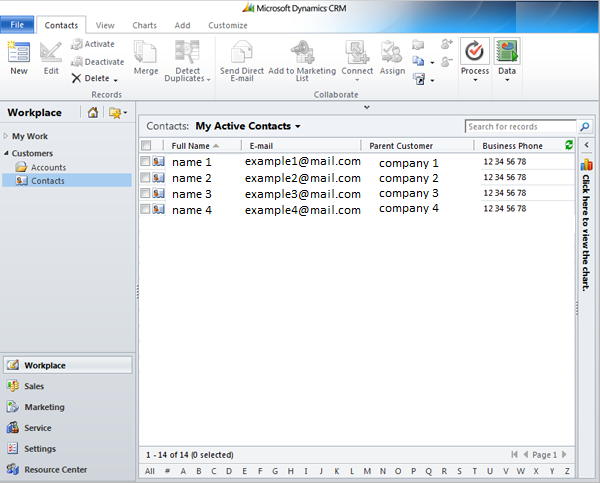
For understanding the concept of reporting, we need to have a few sample contacts (in case of a new prospect) and sample accounts (in case of an existing customer) in CRM as shown below:
Now, navigate to “Workplace” section and under “My Work” option, click on “Reports” which opens built-in reports data.
In this demonstration, we will run reports on the new sample contacts that we just created.
Steps to create a new report:
- Navigate to “Workplace” section.
- Under “My Works” option, click on “New” button.
- A window will appear in which you select “Report Wizard”
- Give a suitable name to the report.

- Choose the primary entity to be any one of the contacts you just created. You also can run reports against accounts or activities.
- You can now choose to filter the data; after which the filter screen will appear with the data you requested.
We now apply logic and use custom entities to fetch the report.
For example, if you just need contact information with a particular letter or word, you can get that particular data. Similarly, you can ask CRM to show customized data of people who purchased a specific product during a specific period of time or data of people who purchased a specific number of products and so on.
Literally any kind of sorting is possible with Microsoft Dynamics CRM when you want to create the report.
After sorting the data, the report window is going to prompt the user what columns he/she wants. Here the user can choose whether he wants all the columns like name, city and company name where the contact belongs to. Or just choose the options needed. The “report wizard” where you select the columns is as shown below:
Click “next” once you have finished selecting custom columns. It will now prompt asking whether you want a table format of the report or a pie-chart format. Choose either of the two, depending on your requirement and click ”Next”. Again click “next” and “finish” buttons to save the report. Your report is now listed in “Reports” section of your CRM database.
If you want to work further on this report, go to “My Works” and select this freshly created report. Select the columns you want to view and click ”run report”.
By following the above steps, a user can filter data to any extent and get the information from existing reports and create new reports for contacts.
This member has not yet provided a Biography. Assume it's interesting and varied, and probably something to do with programming.


 General
  News
News  Suggestion
  Question
  Bug
Bug  Answer
  Joke
Joke  Praise
  Rant
Rant  Admin
Admin 


