
Customizing the WIX Installer
4.27/5 (3 votes)
Quick and easy way of customizing the WIX Installer
Introduction
This article will help you understand in how to customize the WIX Installer by using a third party tool WixEdit, which provides an interface to .WXS file. You may add background images to dialog boxes and replace the traditional windows buttons with image buttons etc...
Background
Sometime back, I was asked to build a WIX installer for one of the utility which was built on MS Visual Studio .NET. I ended up doing the following research with the help of google and couple of WIX related articles on CodeProject itself. Hope this article will help someone who is looking for a quick guidance using which she can easily create a customized WIX Installer. I have attached a sample WIX installer project source code for the reference. In this project, I've modified only welcome page background image along with the navigation buttons .
Pre-Requisites
- Microsoft Visual Studio 2010
- Windows Installer XML Toolkit - http://wix.codeplex.com/releases/view/60102
- Wix Edit Tool - http://sourceforge.net/projects/wixedit/files/wixedit/
Steps
Wix Edit Tool – Creating the .WXS file using the .MSI file of the respective application.
1. Create the MSI file of the utility for which WIX installer needs to be developed using Windows Installer XML Toolset.
2. Start Wix Edit Tool and open the MSI file created in STEP 1.
3. As soon as you open the MSI, the Wix Edit tool generates the .WXS and respective binary files needed to build the WIX installer as shown below – 
4. The binary files are structured into following sub-directories:
- /Binary
- /File
- /Icon
6. Once you are done with the changes to all the respective forms/ dialogs, you may save the .WXS file.
Creating WIX Installer Project using Microsoft Visual Studio
1. Create a new WIX Installer project using MS Visual Studio 2010 as shown below –
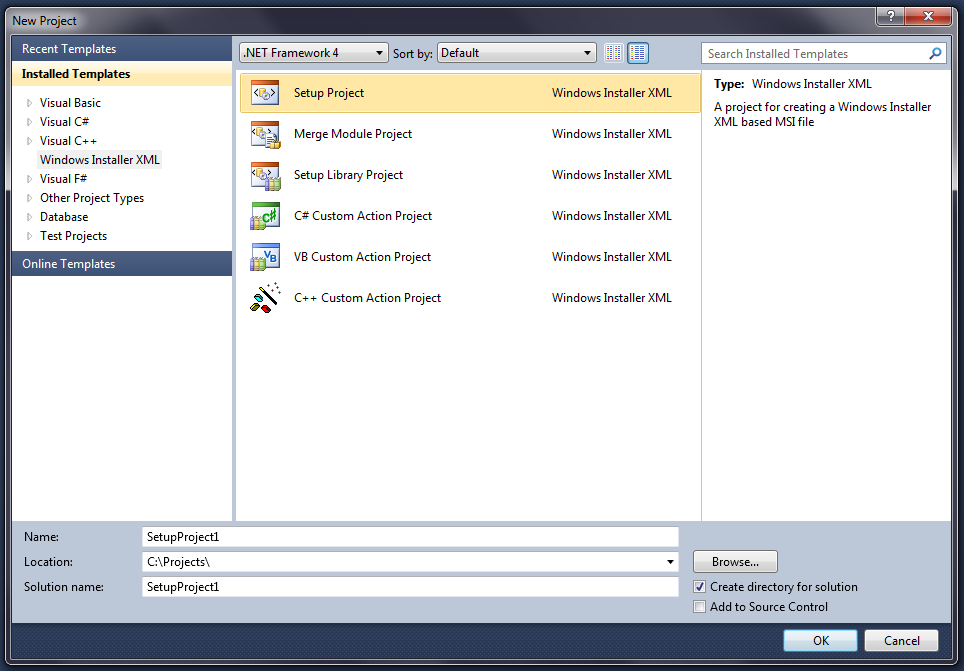
2. After creating the project, by default a product.wxs file is generated. You may go ahead and delete this file.
3. Add the references to following .DLL files
- WixUIExtension (C:\Program Files (x86)\Windows Installer XML v3.5\bin\\WixUIExtension.dll)
- WixUtilExtension (C:\Program Files (x86)\Windows Installer XML v3.5\bin\\WixUtilExtension.dll)
5. Also, please fix the reference paths to files under \Binary, \Icon and \File directories. (highlighted in below screenshot)

6. You may also modify the .WXS file to customize the fonts, text or dialog background images as shown in below screenshots.
7. Locate and modify the following section for font changes

8. Now the most important customization you might be looking for is how you can add/ change background images to dialog forms and buttons. You may add couple of XML tags to achieve the same as below:
<Property Id="DialogBitmap">dlgbmp</Property>
<Binary Id="dlgbmp" src="InstallerFiles/Images/bg_utility.BMP" />
Place the respective bg_utility.BMP file under /InstallerFiles/Images/ directory. For simplicity, I’ve created another directory for images, so if in case you need to change the theme of your installer in future, all you have to do is to replace the images under this directory.
After adding these two tags, you may use the PropertyId “DialogBitmap” as shown below –

This will update the respective dialog box’s background image to bg_utility.BMP. If you closely observe the TYPE attribute of the respective CONTROL tag is set to BITMAP.
9. Similarly, you may convert the traditional windows buttons to custom images of your choice. See few examples below:
